
MERN - MongoDB, Express, React and Node.js
What is MongoDB, NoSQL vs SQL
MongoDB is an open-source document database, those documents can contains all the information related to the stored data. So during a search and the need to display information related to stored data all the info can be obtained from the document in stead of gathering information between database tables. MongoDB is also referred as a NoSQL database. In the early 2000s when the prices for storage dropped there was no longer a need to try to reduce duplicated data which was done with the relational databases.
So for example when using a blog post in a SQL database we would have a separate table for the blog post and a separate table for the comments with the blog post id used as a foreign key in the comments table. In a NoSQL database we would simply embed the comments inside the document that contains the blog post. In that way in a NoSQL database the blog post and the comments are kept together.
SQL Databases have a ‘strong’ schema, which means a predetermined schema that all records (or rows) will adhere too. And have a relational nature, data stored over multiple tables connected by relations (one-to-one, one-to-many, many-to-many).
NoSQL databases like MongoDB is not tied by a schema, every document(record in SQL) in a collection(table in SQL) can have different a data format. You can setup relations between collections but a NoSQL databases rely less on those relations. In stead they store all information in one place.
For example in a webstore solution, you still may have a order, customer and a product collection. The order collection however will contain all necesary information of both other collections to be able to process the order. In other words, during an order lookup you can simply look in the order collection for the order document to find out what product the customer ordered but also get access to the shipping address. In a big order, product and customer base this will be faster than doing a order lookup in the order table, obtain both the customer.id and the product.id, then go to those tables and do a lookup to access the information needed.
Install mongodb locally
For my MERN project to avoid problems with remote connections I decided to use a local mongodb installation.
The installation itself is pretty simple, all that is needed when brew is installed is:
brew install mongodb-community@5.0This will install the current latest version.
Run mongodb as a service
After installation you have two choices to run the mongodb. You can either run it manually from the command line, or run it as a service.
To run mongodb on a Mac as a service you have to run the command:
brew services start mongodb-community@5.0The ‘5.0’ can differ depending on your installation.
After this mongodb will run in the background. The normal services commands are valid.
- stop the service
brew services stop mongodb-community@5.0- restart the service
brew services restart mongodb-community@5.0 Creating our backend
I am making the assumption that Node.js is alreay installed on your system.
If we first build the react application, extending it to the MERN stack is fairly simple. In our project folder create a new client folder and move the entire react build structure into that folder.
After this we run npm init in the root of our project folder. Now we will start installing the dependencies.
Regular dependencies
Express is minimalist web framework for Node.js, which is very flexible and offers a robust set of features for web and mobile applications.
Dotenv is used to store our global variables in a central config file.
Mongoose is a ODM (Object Data Mapper) it creates a layer that we can use to interact with our database, we can create models and we can make queries to our database.
We install them with the command:
npm install express dotenv mongooseDev dependencies
Handy but not really necessary are nodemon and concurrently for development purposes.
Nodemon allows to run our server without the need of constantly restarting it when file changes are made. Concurrently allows us to start the frontend and the backend each on their own port with just one npm script.
We install them with
npm install -D nodemon concurrentlyChanges to package.json
After the installation of the dependencies and info we filled in when we executed npm init our package.json in the root folder will look like.
{
  "name": "<projectname>",
  "version": "1.0.0",
  "description": "Backend for <project>",
  "main": "server.js",
  "scripts": {
    "test": "echo \"Error: no test specified\" && exit 1"
  },
  "author": "<Your_name>",
  "license": "MIT",
  "dependencies": {
    "dotenv": "^10.0.0",
    "express": "^4.17.1",
    "mongoose": "^5.13.5"
  },
  "devDependencies": {
    "concurrently": "^6.2.0",
    "nodemon": "^2.0.12"
  }
}
In the package.json we change the default script. The default script we replace with:
"scripts": {
    "start": "node server",
    "server": "nodemon server"
  },
With this in the scripts we can run the command “npm run server”, when we issue this command in the terminal you will see the following, when we are done building our backend.
npm run server

> <project_name>@1.0.0 server
> nodemon server

[nodemon] 2.0.12
[nodemon] to restart at any time, enter `rs`
[nodemon] watching path(s): *.*
[nodemon] watching extensions: js,mjs,json
[nodemon] starting `node server.js`
Server running in development mode on port 5000
MongoDB Connected: localhost
Building the backend
Some of the dependencies we added are required in the application so in our entry point file server.js we add them.
// /server.js
const express = require('express')
const dotenv = require('dotenv')
To create our web server we need to start express. This can be done with just a few commands. These will also find their place in server.js
const app = express()
const PORT = 5000
app.listen(PORT)
We store our global variables in our config.env in a config folder we have to create.
// /config/config.env
NODE_ENV=development // Environment variable, now during development set to this, later for production we have to change this
PORT=5000 // Port we use in our web browser
MONGO_URI=mongodb://localhost:27017/<collection_name> // Path to our database
To make it available in our application we add this too to server.js
const express = require('express')
const dotenv = require('dotenv')

dotenv.config({path: './config/config.env'})
Now that we imported our global variables we can adapt our server.js to make use of it.
const express = require('express')
const dotenv = require('dotenv')
dotenv.config({path: './config/config.env'})
const app = express()
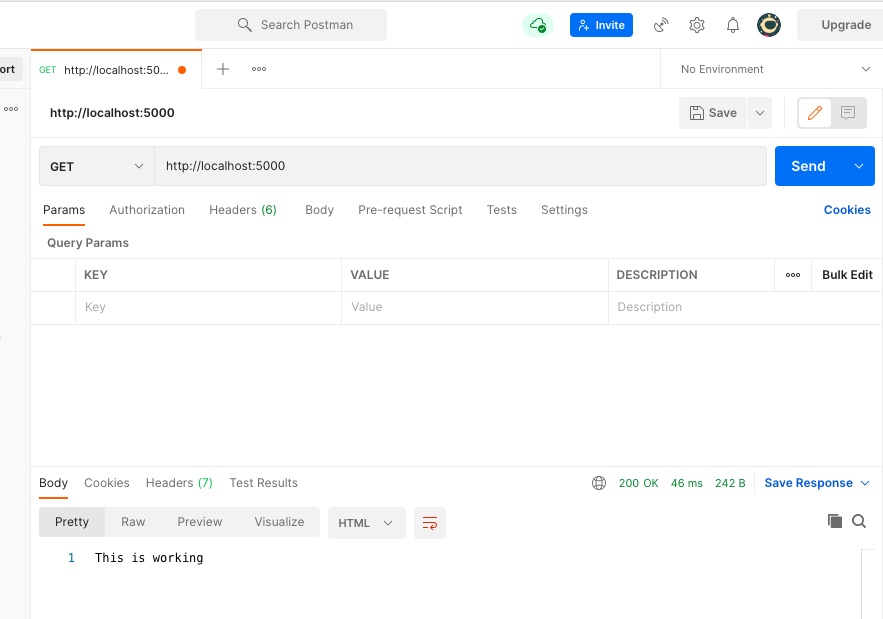
app.get('/', (req, res) => res.send('This is working'))
const PORT = process.env.PORT || 5000 // In case the config file can't be found it will use port 5000
app.listen(PORT, console.log(`Server running in ${process.env.NODE_ENV} mode on port ${PORT}`))After this we can send a simple get request to our backend. And we should see as response “This is working”
In the config folder we also create a file that we will use to setup our connection to the database.
const mongoose = require('mongoose') // we need mongoose to connect

const connectDB = async () => {
    try {
        const conn = await mongoose.connect(process.env.MONGO_URI || `mongodb://localhost:27017/<collection_name>`, {
            useNewUrlParser: true,
            useCreateIndex: true,
            useUnifiedTopology: true
        })

        console.log(`MongoDB Connected: ${conn.connection.host}`)
    } catch (err) {
        console.log(`Error: ${err.message}`.red)
        process.exit(1)
    }
}

module.exports = connectDB